Introduction
Adminix is a Laravel package for building admin panels from PHP classes. It is not a separate application and it does not store admin definitions in the database. You describe pages, menus, modules, actions, fields, and tenant context in code; Adminix renders the panel dynamically at runtime.
This documentation is written for developers who need to install Adminix, create admin pages, and keep privileged admin workflows safe. You do not need to be an Adminix expert before starting, but you should be comfortable editing Laravel config, models, policies, and service providers.
Core idea
Most Adminix work follows the same pattern:
Install the package and publish config/assets.
Register one or more page providers.
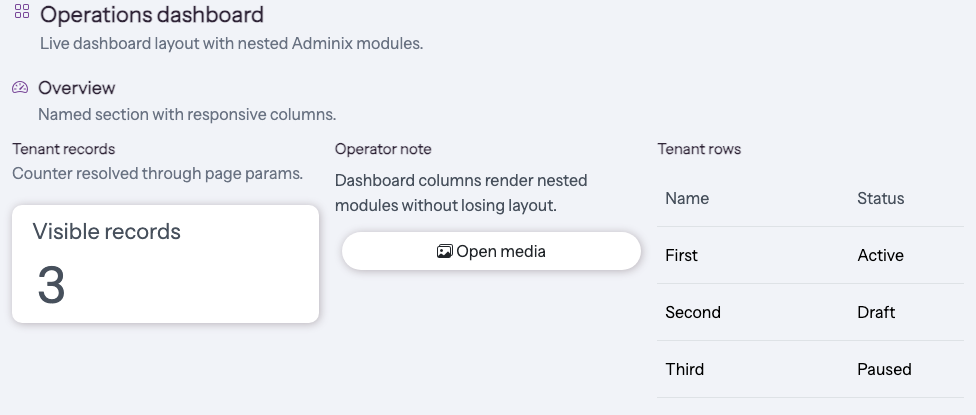
Build each page from modules such as lists, resources, dashboards, imports, media browsers, or status cards.
Keep datasources, permissions, tenant scope, writable fields, and action handlers server-owned.
Run Doctor and live browser checks before shipping UI-facing changes.
How to start
Use this reading order for a first integration:
Installation - install the package, publish assets, and enable authorization.
Configuration - choose legacy config, one panel, or multiple panels.
Pages list - understand how page providers are registered.
Page - create a page provider and add page metadata.
Modules - choose the module that matches the screen you need.
Security - review the server-side boundaries before adding writes or tenant scope.
For package contributors, read Development before changing code.
What to build first
Start with the smallest page that proves the integration:
Result: /adminix/orders renders a server-owned list page. From there, add search, filters, row actions, resources, modals, tenant criteria, or page header actions as the business flow requires.
Rendered examples
Page header example:

Dashboard module example: